
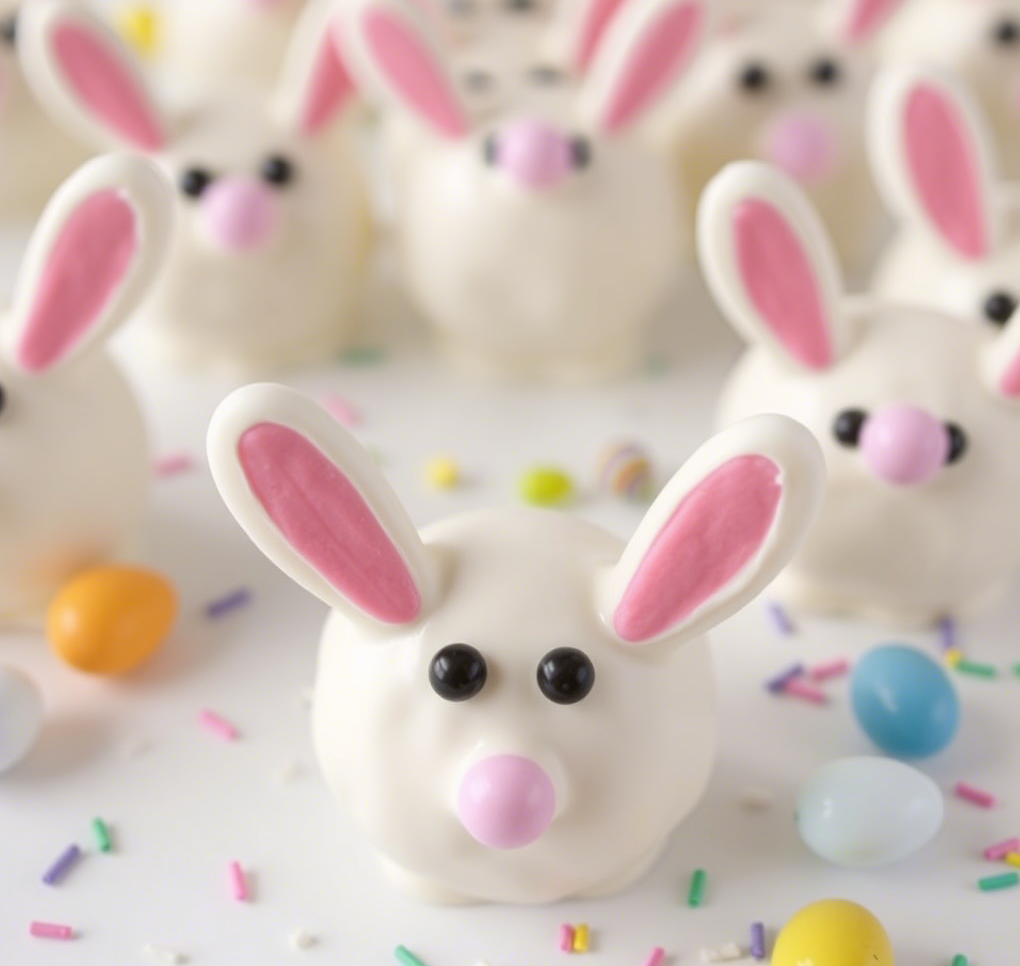
Bunny Butt Oreo Balls are an adorable, no-bake Easter dessert that will steal the show at any gathering. These bite-sized treats are made from crushed Oreos, cream cheese, and chocolate, shaped into cute little bunny behinds with fluffy tails. They are easy to make, require minimal ingredients, and are a fun activity for kids and adults alike.
If you’re looking for a festive and delicious treat for your Easter celebration, these Bunny Butt Oreo Balls are the perfect choice. Not only do they taste amazing, but they also look incredibly cute, making them an excellent addition to any Easter dessert table.
Ingredients Needed
Essential Ingredients:
To make these delicious Bunny Butt Oreo Balls, you will need:
- 1 package (14.3 oz) of Oreo cookies – Classic or flavored Oreos work well.
- 8 oz cream cheese (softened) – Helps bind the Oreo crumbs together.
- 12 oz white candy melts or white chocolate – For coating.
- Pink candy melts – For decorating bunny feet.
- Mini marshmallows or white candy pearls – For the fluffy bunny tail.
Optional Toppings for Customization:
- Coconut flakes – For extra texture and a fluffy look.
- Sprinkles – To add a pop of color.
- Food coloring – If you want different color variations.
Step-by-Step Recipe
Crushing the Oreos
- Place the Oreos in a food processor and pulse until finely crushed. If you don’t have a food processor, place them in a ziplock bag and crush them using a rolling pin.
- Make sure the mixture is fine and no large chunks remain.
Mixing with Cream Cheese
- In a mixing bowl, combine the crushed Oreos with softened cream cheese.
- Mix until well combined and a dough-like consistency forms. You can use a spoon, but using your hands makes it easier to blend everything together.
Shaping and Chilling
- Roll the mixture into small balls (about 1-inch in diameter) for the bunny’s body.
- Place them on a baking sheet lined with parchment paper.
- Chill in the refrigerator for at least 30 minutes or until firm.
Decorating Bunny Butt Oreo Balls
Creating the Bunny Shape
- Melt the white candy melts according to package instructions.
- Dip each chilled Oreo ball into the melted chocolate, using a fork to evenly coat.
- Place back on parchment paper and let them set.
Adding the Tail and Feet
- For the tail, attach a mini marshmallow or a small ball of white fondant.
- Make bunny feet by piping pink candy melts onto parchment paper, creating small ovals with three dots to resemble paws. Let them set, then attach them to the Oreo balls.
Using Candy Melts and Sprinkles
- Use pink candy melts to add extra detail to the feet.
- If desired, sprinkle some shredded coconut over the bunny butts to give a fuzzy look.
Tips for the Best Bunny Butt Oreo Balls
- Make sure the mixture is smooth – The finer the Oreo crumbs, the better the texture.
- Use high-quality chocolate or candy melts – This ensures a smooth and even coating.
- Chill before dipping – Cold Oreo balls help the chocolate set properly.
- Avoid overheating the candy melts – Melt in short intervals to prevent burning.
Fun Variations to Try
Want to make these Oreo balls even more exciting? Try these fun variations:
- Different Oreo flavors – Try Golden Oreos, Mint Oreos, or Birthday Cake Oreos.
- Add coconut flakes – Mix shredded coconut into the Oreo mixture for added texture.
- Colorful chocolate coatings – Use pastel-colored candy melts for a vibrant Easter look.
Serving and Storing Tips
- Store in an airtight container in the fridge for up to 5 days.
- Freeze for up to 2 months. Thaw before serving.
- Serve on a decorative Easter platter for a festive touch.
Why Kids and Adults Love Them
These Bunny Butt Oreo Balls are not just delicious—they’re a blast to make! Kids love shaping the balls and adding decorations, while adults appreciate the simple yet impressive presentation. They’re a guaranteed hit at Easter parties and make great homemade gifts.
Bunny Butt Oreo Balls are the perfect combination of fun and flavor. With just a few ingredients and simple steps, you can create an Easter treat that looks adorable and tastes amazing. Whether you’re making them for a party, as a gift, or just for fun, these no-bake treats are sure to bring smiles to everyone’s faces.
FAQs
1. Can I make these ahead of time?
Yes! You can prepare them up to 3 days in advance and store them in the fridge until ready to serve.
2. Can I use white chocolate instead of candy melts?
Absolutely! Just be sure to melt it carefully to avoid seizing.
3. What if I don’t have a food processor?
You can crush the Oreos using a rolling pin and a ziplock bag.
4. How do I prevent the chocolate from cracking?
Make sure the Oreo balls aren’t too cold before dipping. Let them sit for a minute at room temperature.
5. Are they freezer-friendly?
Yes! Store them in an airtight container in the freezer for up to 2 months.
Print
Bunny Butt Oreo Balls
- Total Time: 1 hour
- Yield: 24 Oreo balls 1x
Description
These Bunny Butt Oreo Balls are the cutest Easter dessert! Made with just a few ingredients, they are fun to make and even more fun to eat. Perfect for Easter parties, family gatherings, or as a festive homemade gift.
Ingredients
Essential Ingredients:
- 1 package (14.3 oz) of Oreo cookies (classic or flavored)
- 8 oz cream cheese (softened)
- 12 oz white candy melts or white chocolate
- Pink candy melts (for decorating bunny feet)
- Mini marshmallows or white candy pearls (for the fluffy tail)
Optional Ingredients for Customization:
- Shredded coconut (for a fluffy texture)
- Sprinkles (for added color)
- Food coloring (to make pastel-colored bunnies)
Instructions
Step 1: Prepare the Oreo Mixture
- Crush the Oreos into fine crumbs using a food processor or by placing them in a ziplock bag and crushing with a rolling pin.
- In a bowl, mix the Oreo crumbs with softened cream cheese until fully combined and dough-like.
Step 2: Shape the Bunny Butts
- Roll the mixture into small balls (about 1 inch in diameter) and place them on a parchment-lined tray.
- Chill in the refrigerator for at least 30 minutes until firm.
Step 3: Coat with Chocolate
- Melt the white candy melts or white chocolate according to the package instructions.
- Dip each chilled Oreo ball into the melted chocolate and place it back on the tray to set.
Step 4: Decorate the Bunny Butt
- Attach a mini marshmallow or a small white candy pearl for the bunny tail.
- Pipe pink candy melts onto parchment paper to create small bunny feet and attach them to the Oreo balls.
- Let everything set until the decorations are firm.
Notes
- Chill the Oreo balls before dipping to prevent them from falling apart.
- Use high-quality chocolate for a smooth, professional-looking coating.
- If the chocolate is too thick, add a teaspoon of coconut oil to thin it out.
- Let the chocolate set completely before handling to avoid smudging.
- Prep Time: 30 minutes
- Cook Time: 30 minutes